What is this Windows ISO image editing tutorial about?
This video tutorial on editing Windows ISO image editing will show us how to edit an ISO image, ie how to edit / replace / delete / add files in an ISO image
Why edit an ISO image with Windows 10 or Windows 11?
First of all, to understand, I have to tell you that when you have old hardware, Windows 11 restrictions do not allow you to install it.
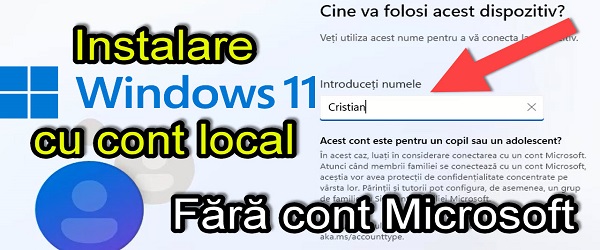
That's why we need to modify Windows 10, adding the main installation file from Windows 11, so that we can overcome the limitations imposed in Windows 11.
If for a fresh install, on old hardware, we can use Rufus with slightly modified settings, with which to make a USB stick; To install Windows 11 on a virtual machine, you need to change the ISO image, which we will do in this tutorial.
How can we change the Windows ISO image?
Intuitive variant, but incorrect, is to extract the ISO image, to change what needs to be modified, then to make an ISO image again.
The correct and very simple variant is to use a software called AnyBurn, with which we can edit the ISO image without altering its bootability (word invented now).
What do we need to edit the Windows ISO image?
Download AnyBurn
Download Windows 10 (with Chrome-ChromeOS user agent)
Download Windows 11
How to change the Windows 11 ISO image to run on old hardware and virtual machines
Windows ISO image editing tutorial steps
- Unload AnyBurn and ISO images Windows 10 and 11
- Extract in a folder the contents of the Windows 11 ISO image
- Open the AnyBurn application and go to "Edit image files"
- Select Windows 10 ISO image
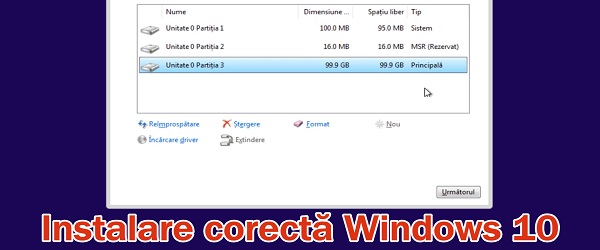
- From the Windows 10 ISO image, from “sources”, delete install.wim
- Replaces the deleted file with the similar file in the image extracted earlier from Windows 11 (souces / install.wim)
- Then click on "Next", Select the location where the new edited ISO will be saved, then press"create now"
Similar tutorials


But if we download Windows 11 first, using their utility; give us install.esd file, or install.wim?
That if it gives us install.esd, we can convert it by executing the following three commands in CMD:
set “FOLDERR = C: \ Windows_Source”
:: set the source folder of the files
DISM.exe / Export-Image /SourceImageFile:"%FOLDERR%\install.esd ”/ SourceIndex: 1 /DestinationImageFile:"%FOLDERR%\install.wim” / Compress: max / CheckIntegrity
:: converts the file “% FOLDERR% \ install.esd” from ESD format to WIM format
DISM.exe / Export-Image /SourceImageFile:"%FOLDERR%\install.wim ”/ SourceIndex: 1 /DestinationImageFile:"%FOLDERR%\install.esd” / Compress: recovery
:: convert the file “% FOLDERR% \ install.wim” from WIM format to ESD format
Sorry, the last command no longer needs to be executed, unless you want to convert it back after file changes.
The current method, demonstrated in this video tutorial, is the only one that can be used to integrate Win11 iso, modified, into a flash drive formatted with Ventoy. It is known that on a flash drive formatted with Ventoy, you can integrate many types of iso image files, including the image files of different operating systems, from Linux distros to Windows versions (XP, Vista, Win7 , Win8, Win10, native Win11 and modified Win11).