What is the video stabilization tutorial of shaky footage
In the video stabilization tutorial of shaky videos, I will show you the stabilization function for the videos already filmed, from Google Photo.
It's a great option implemented in video editing from Google Photo that not many people know about.
What is video stabilization?
Video stabilization is a combination of techniques that, once applied, can improve the fluidity of movement in a video shoot, thus giving a more professional look to the footage.
Filming made by inexperienced amateurs can be easily observed by the fact that the frames are shaky.
In a word, a trembling filming, leaves the impression of lack of attention and especially lack of professionalism.
Video stabilization is of two kinds:
Hardware stabilization:
Steadycam - mechanisms with springs, levers and counterweights that are meant to provide a balance on all axes of the video camera.
Gimbal type devices, electronic and mechanical
OIS or moving lens lenses, to compensate for camera shake
Software Stabilization
EIS or electronic stabilization, is a stabilizer that is used by the crop and gyroscope to move the image so that the movements are eliminated.
Software stabilization (warp-like) - is the technique used by Google Photos (the application iOS or Android). This method involves applying a floating crop to hold the subject in place. This technique can be applied after filming.
How does Google Photo stabilization work?
From the filming it is established which is the subject, which is usually the most in focus and the most in the middle.
After establishing the subject, a crop is applied with the application of an algorithm, and the result is that the subject is held in place and the rest of the frame moves.
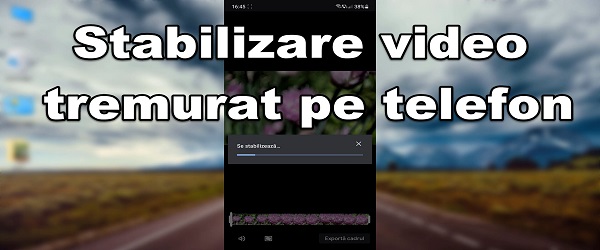
How can you stabilize a video already shot with Google Photos?
- Go to the gallery, on the shaky video and send it to Google Photos
- Once uploaded, open the video in Google Photos and click the edit button
- Go to the button with the frame under the timeline and click on it
- He waits for it to stabilize, and finally saves a copy
Other useful tutorials with Google Photos, video editing, etc


Speak Your Mind